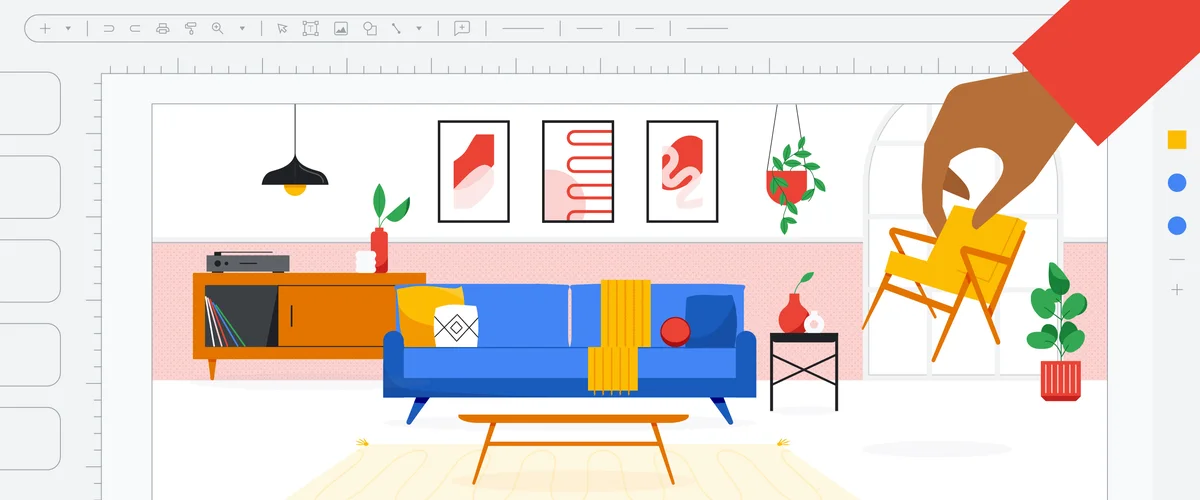
In this article, we will explore five creative ways to redecorate your living room using Google Slides. From making a furniture floor plan to creating an accent wall with backgrounds, these tips will help bring your design vision to life. We’ll also show you how to arrange images to fit on top of one another and how to rotate and flip images to achieve the perfect look. Plus, we’ll share a handy trick for cropping images without ever leaving Google Slides. Get ready to transform your living room with these simple and effective techniques!


This image is property of storage.googleapis.com.
Make a furniture floor plan with shapes
When redecorating my living room, I wanted to experiment with different furniture layouts without actually having to move any furniture around. That’s when I discovered the Shapes feature in Google Slides. With this tool, I was able to easily create a floor plan by choosing from a variety of shapes, including classic rectangles and squares. There are even over 40 different shapes to choose from, so you can get creative and find the perfect representation of your furniture. This allowed me to visualize different layouts and determine the most functional arrangement for my space. To access the Shapes feature, simply go to the Insert menu, hover over “Shape,” then select “Shapes.” From there, you can experiment with different shapes and create your own furniture floor plan.
Create an accent wall with backgrounds
To add some visual interest to my living room, I decided to create an accent wall. However, choosing the right color proved to be a bit challenging. Instead of taping up multiple color samples to my wall, I turned to Google Slides for help. I used the Background feature to add potential accent wall colors to my slides. By inserting images of my furniture in front of these colorful backgrounds, I was able to easily visualize how each color would look in my space. This helped me decide on the perfect accent wall color. To add a background color to your slide, simply click on the Background button under the top toolbar in Google Slides. From there, you can select the Color dropdown menu and choose a custom color by adding the hex code or use the eyedropper tool to apply a color from an image.
Arrange images to fit on top of one another
When planning out my living room design, I wanted to see how different furniture pieces would fit together. This included arranging images of furniture to fit on top of one another. For example, I wanted to see if the rug I planned to buy would sit under the couch in the right position. In Google Slides, I was able to easily bring certain images to the foreground and overlap them with others. This allowed me to see the exact layout and placement of my furniture pieces. To bring an image to the foreground in Google Slides, simply click on the image and go to the Arrange option in the top toolbar. From there, select “Order” and then “Bring to front.” This will bring the selected image to the front, allowing you to overlap it with other images.
Rotate and flip images with a few clicks
Sometimes, the images of furniture that I found online didn’t quite match the orientation I wanted for my own space. For example, a side table might be shown facing right, but I wanted it to face left. In Google Slides, I was able to easily fix this by rotating or flipping the image. By right-clicking on the image and selecting “Format options,” I could access the image editing tools. Under the “Size & Rotation” section, I could choose to rotate the image vertically or horizontally. This allowed me to align the furniture in my mockup with the desired orientation in my actual living room.


This image is property of storage.googleapis.com.
Crop images without leaving Slides
While searching for design inspiration, I often came across images that needed some editing. For example, I might want to remove a certain object from an image or simply crop it to fit better within my slide. With Google Slides, I didn’t have to rely on an external image editing program. Instead, I could easily crop images right within the Slides interface. By double-clicking on the image, black lines would appear, allowing me to resize and crop the image to my satisfaction. This saved me time and allowed me to make quick adjustments to images without having to switch between different applications.
Inserting furniture images
To create a realistic representation of my living room design, I needed high-quality images of furniture pieces. I turned to the internet to find furniture images that matched my vision. There are many websites and online resources that offer a wide selection of furniture images that you can use in your Google Slides presentation. Once I found the images I wanted, I simply inserted them into my slides. To add an image to your slide in Google Slides, go to the Insert menu and select “Image.” From there, you can upload an image from your computer or choose an image from your Google Drive.


This image is property of storage.googleapis.com.
Adding text and labels
In order to provide more context and information about my living room design, I decided to add text and labels to my Google Slides presentation. This allowed me to label furniture pieces and accent pieces, as well as provide descriptions and details about each item. Adding text in Google Slides is simple. Just click on the Text Box option in the top toolbar and then click on the slide where you want to add text. You can then type in your text and customize it using the various formatting options available.
Collaborating with others
One of the great features of Google Slides is its collaboration capabilities. This allowed me to easily share my living room design with others and get input and feedback. By sharing my Google Slides presentation with friends, family, or even a professional designer, I was able to receive valuable insights and suggestions. To share your Google Slides presentation with others, simply go to the Share button in the top right corner of the interface. From there, you can enter the email addresses of the people you want to collaborate with or generate a shareable link.


This image is property of storage.googleapis.com.
Using slide transitions and animations
To create dynamic presentations and bring my living room design to life, I took advantage of slide transitions and animations in Google Slides. This added movement and visual interest to my design, making it more engaging and interactive. By applying slide transitions between slides, I was able to create a smooth flow and transition from one design element to another. I also used animations to add movement to specific elements within a slide, such as furniture pieces or accent decorations. This allowed me to showcase the functionality and design of each item in an engaging way.
Additional tips and tricks
In addition to the main features and techniques mentioned above, there are several other tips and tricks I discovered while using Google Slides to redecorate my living room. One helpful tip is to explore templates for design inspiration. Google Slides offers a wide range of pre-designed templates that you can use as a starting point for your own design. These templates can provide ideas and inspiration for layouts, color schemes, and overall design concepts. Another tip is to explore advanced design features in Google Slides. This includes using features like slide masters, custom fonts, and shapes to further enhance your design. Don’t be afraid to experiment and play around with different design elements to create a unique and personalized living room design.


This image is property of storage.googleapis.com.

